Not too long ago, my wife and I decided to purchase our first home. Even before moving in, we had many plans and renovation projects in mind, but as an IT enthusiast, the most interesting one was building a small home media center (Structured Media Center).
Main objective: to have a common place for Cable TV, Internet, Home networking and Phone equipment. Within a proper enclosure, it would serve as a connection center.
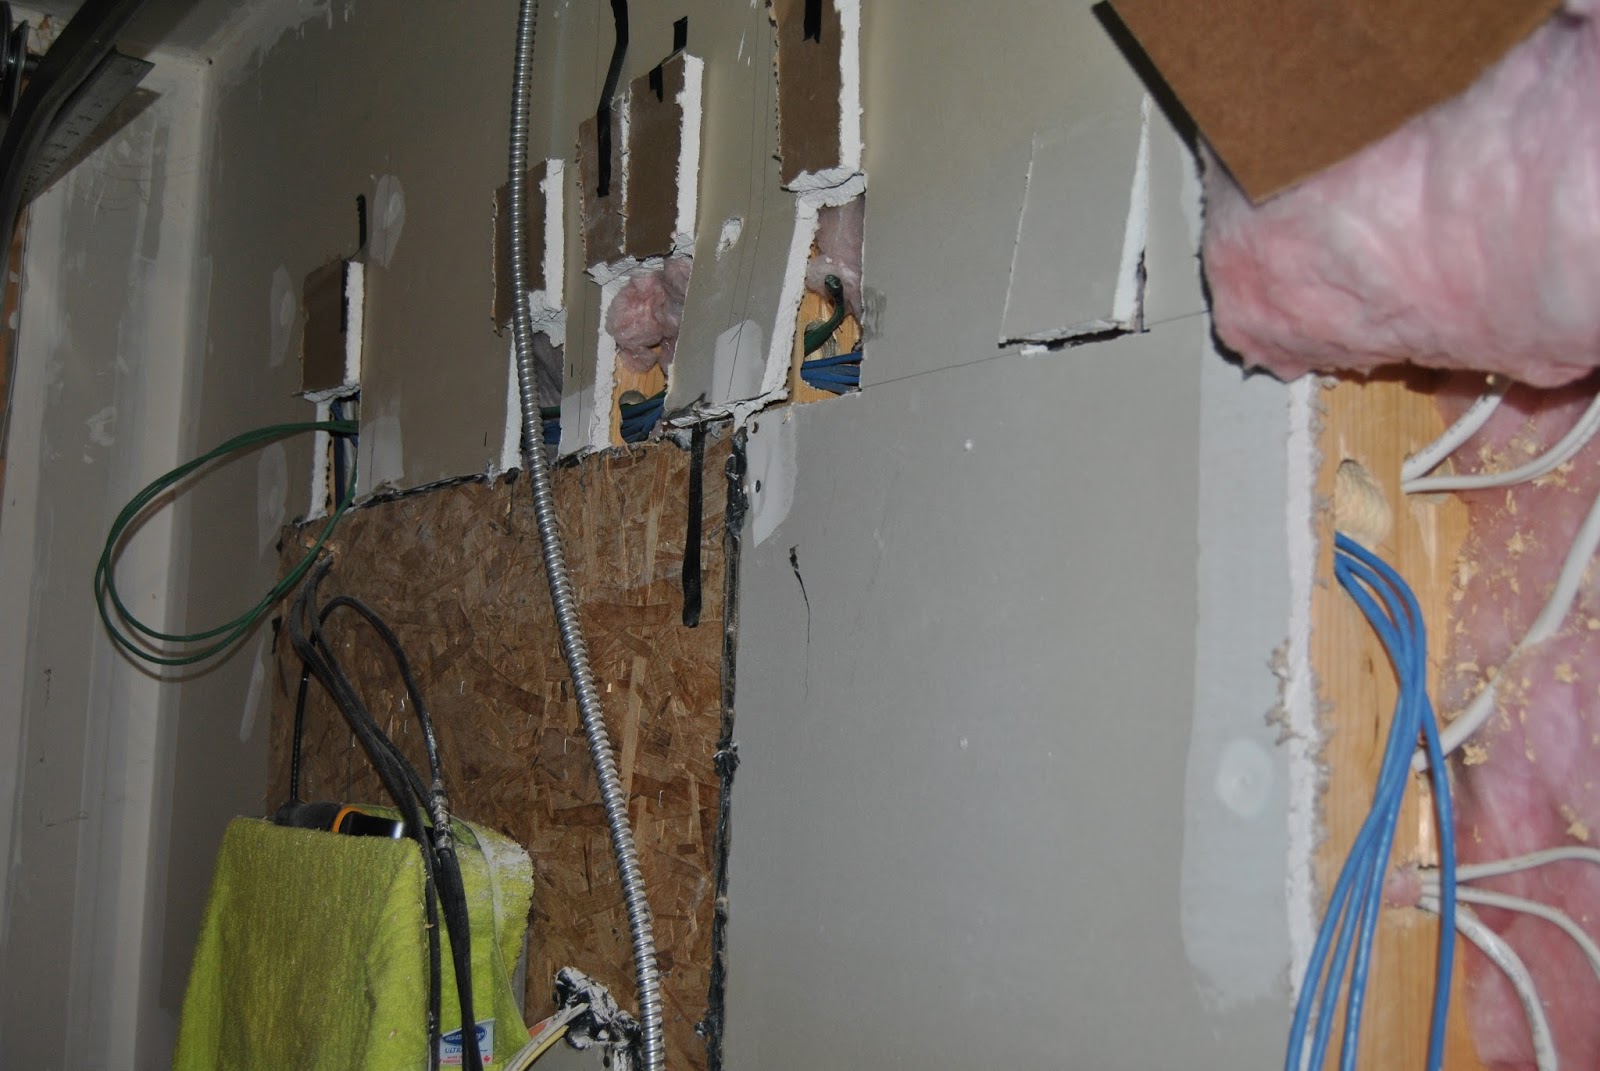
My mission was to go from here:

To here:

Materials:
- Leviton SMC Enclosures
- Spackling Compound
- Plexiglass Sheet
- RJ45 Connectors
- UTP Cable (Patch Cords)
- Weatherstripping
- Velcro cable ties
- Screws
- Leviton Internet Gateway
- Leviton Home Networking Panel
- Cisco Linksys Wireless Router (AP)
- Netgear Nighthawk AC1900
- 8-Port Gigabit Ethernet Switch
- APC UPS HS-500
- Internet Modem (Supplied by Service Provider)
- Phone Modem (Supplied by Service Provider)
- Leviton Integrated Power Supply
- Drill
- Drill Bits
- Drywall hand saw
- Screwdrivers
- RJ45 Cramping tool
- Fish Tape
- Punch down tool
- Hammer (My favourite)
There are a few brands carrying home networking enclosures that fit standard stud separation. I picked Leviton because of their reviews and the flexibility of the modules and panels. Leviton SMC is sturdy and well built.
Leviton SMC Enclosures Site
1. Choosing the right and convenient location.
Along with it comes the questions:
How much space do I need? Do I have room to grow in the short/mid-run? Can I run all the cables to that particular place?
My original "Media Center" was located on the upper right corner beside the garage's electrical panel. We moved to a townhouse that has no basement nor much space to spare. Although the builder roughed in Ethernet and TV cables throughout the house, they nailed a small lousy enclosure to the plywood sheet that holds the electrical panel and entwined up all cables in there.
I'm sure they could have done a better job. Anyway, they did the most difficult part, and I thank them for doing so :)
Finally, I decided to place my media center 2 studs away from the electrical panel's right side. Reasons?
- Considerably distant from the electrical connections.
- The cables were long enough to reach that point.
- The enclosure would be insulated from the back (House entryway is behind the location)
- It would also give me some extra room to grow.
- There was a power outlet near so I wouldn't need to run a cable to the new place.
2. Drywall Cut-out
First, I removed the old small enclosure from the plywood and then cut open a little hole to explore potential electrical cables or obstructions behind the wall. Found a piece of 2x4 that helped to support the light switch junction box on the other side of the wall. Once clearance was confirmed and measures done, proceeded to cut open the first portion of drywall.

Got rid of the 2x4 and also pushed some wires out of the way. Folded up fibre batt against the wall and retained them with cardboard and screws (Careful with the batt insulation, gets you itchy if in contact with bare skin).

3. Rough-in Ethernet/TV cable
Since cables came out from a cavity a few feet away from the enclosure, I passed the cables through the studs right above the electrical panel and pulled them using the fish tape tool. Drilled the studs in such a way it would accommodate cables without compromising their strength.
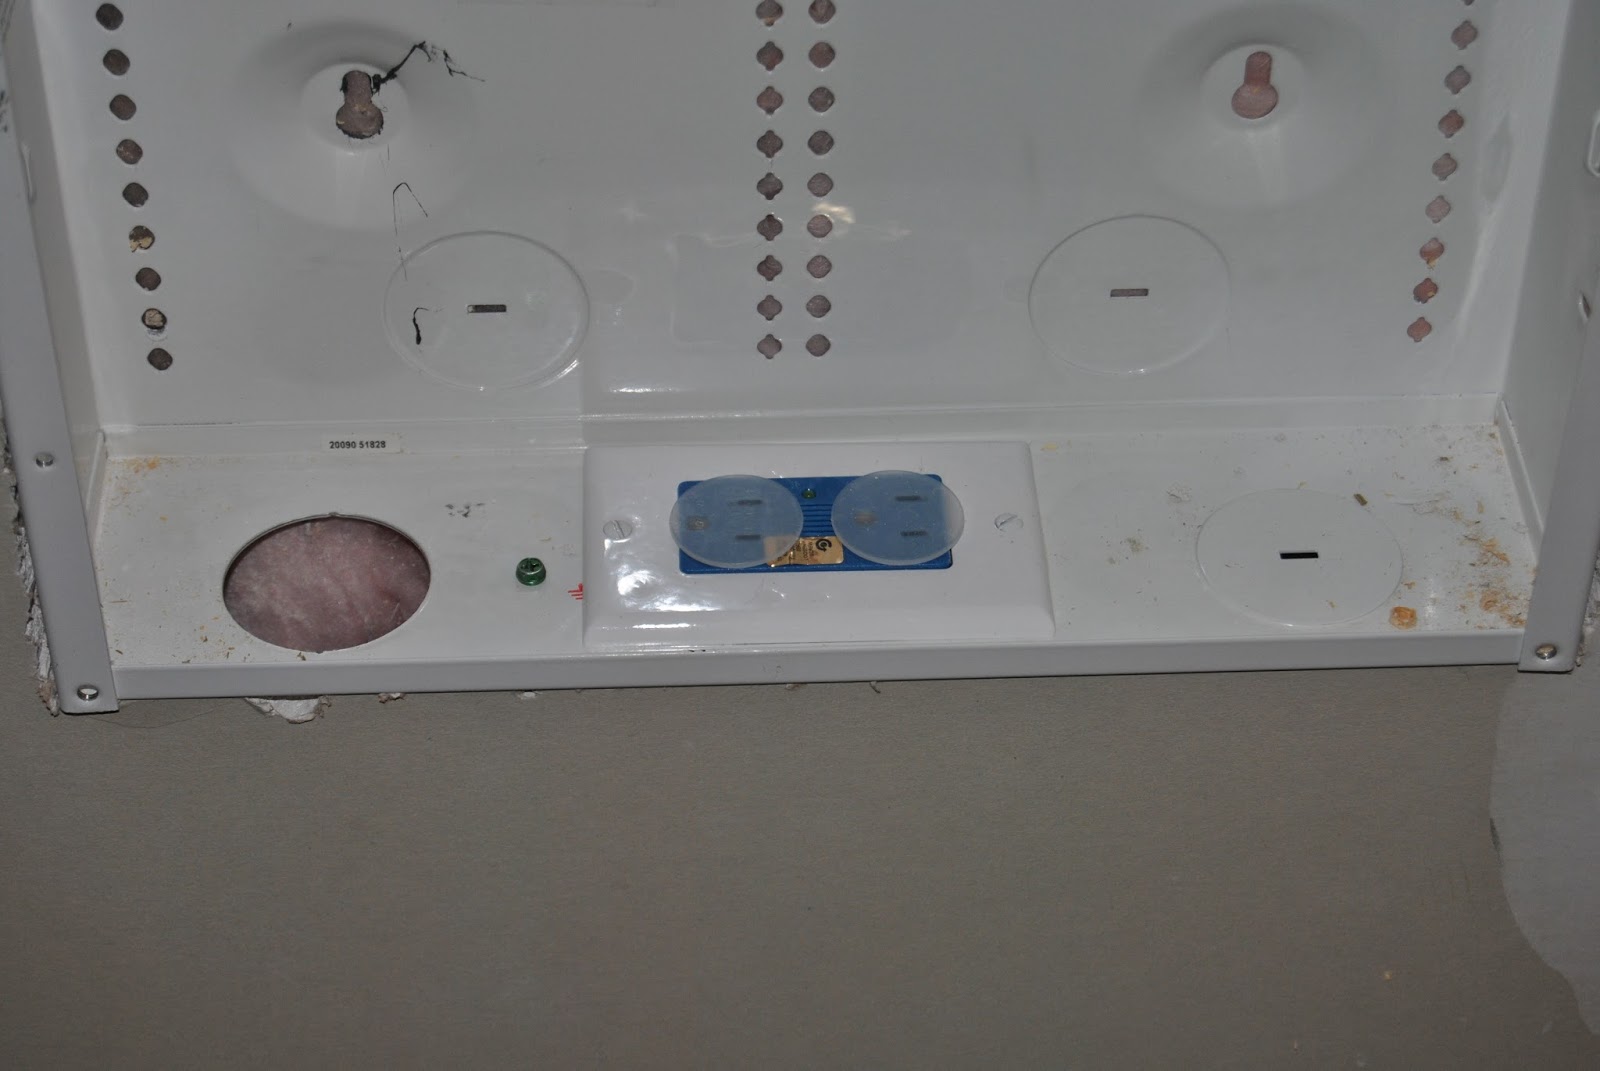
4. Flush-mounting enclosures.
Cut a piece of drywall to fit the inferior enclosure (UPS would sit there). I miscalculated the dimensions of the UPS in regards to the small enclosure. UPS would have few buttons at the very top; if it was to fit, you wouldn't operate those buttons. So came up with an idea to fold up the top side of the box to create continuity toward the big enclosure.

Then I pushed both enclosures into the cavity. Given that the inter-stud spacing wasn't exactly 16 inches, I had to hand-scrape the stud's interior sides using the drywall saw until it would fit without major difficulty. Fixed the cabinets to their final position by screwing them internally against the studs

The gap between both enclosures would be covered by a rectangular piece of Plexiglass that works as a window to display the control panel's status LEDs without opening the hinged cover.

From the power outlet on the left, I ran a cable to the lower enclosure to power up the Leviton surge protector outlet.
Next, I began populating the Media Center. The upper cabinet will nest the networking equipment such as patch panel, Giga Ethernet Switch, Internet Router, Internet modem and phone modem. In contrast, the lower cabinet will hold the 5-outlet Uninterruptible Power Supply (UPS).

6. Patching and Painting the wall
Once cables were all plugged and connections tested, I started patching the holes with spackling compound and filled cracks between the cabinets and drywall.

The spackling I used is a pink putty that turns white as it dries up.

When the spackling dried completely, sanded and painted the wall. Also installed a Cisco wireless AP above the Media Center's main cabinet. Drilled a hole on the top of the enclosure and worked my way up to the AP's expected location. Fixed the AP to the wall with screws and plugged in the power cord. Put finishing touches on by installing weather stripping around the cabinet's edges to prevent dust from getting in.

Here is the network diagram:
